
Body Trails - A Visual Aesthetic
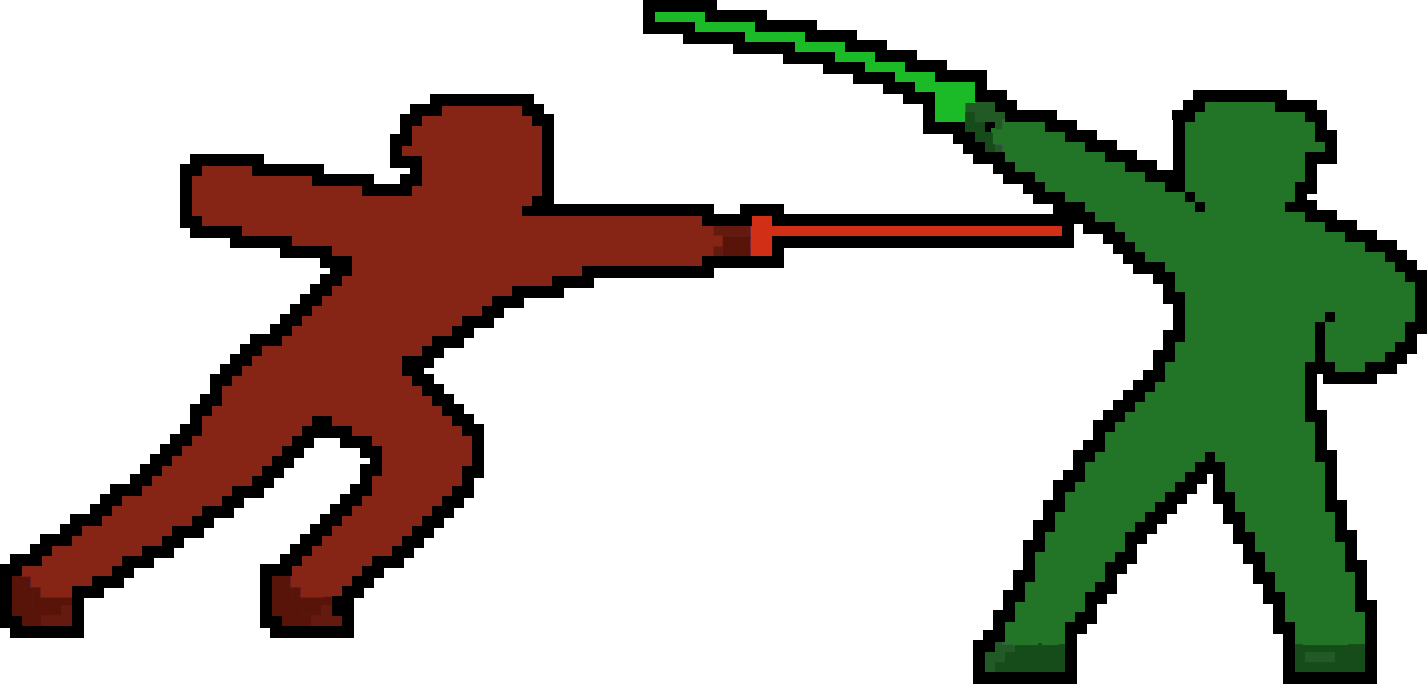
Colored visual effect that trails delayed

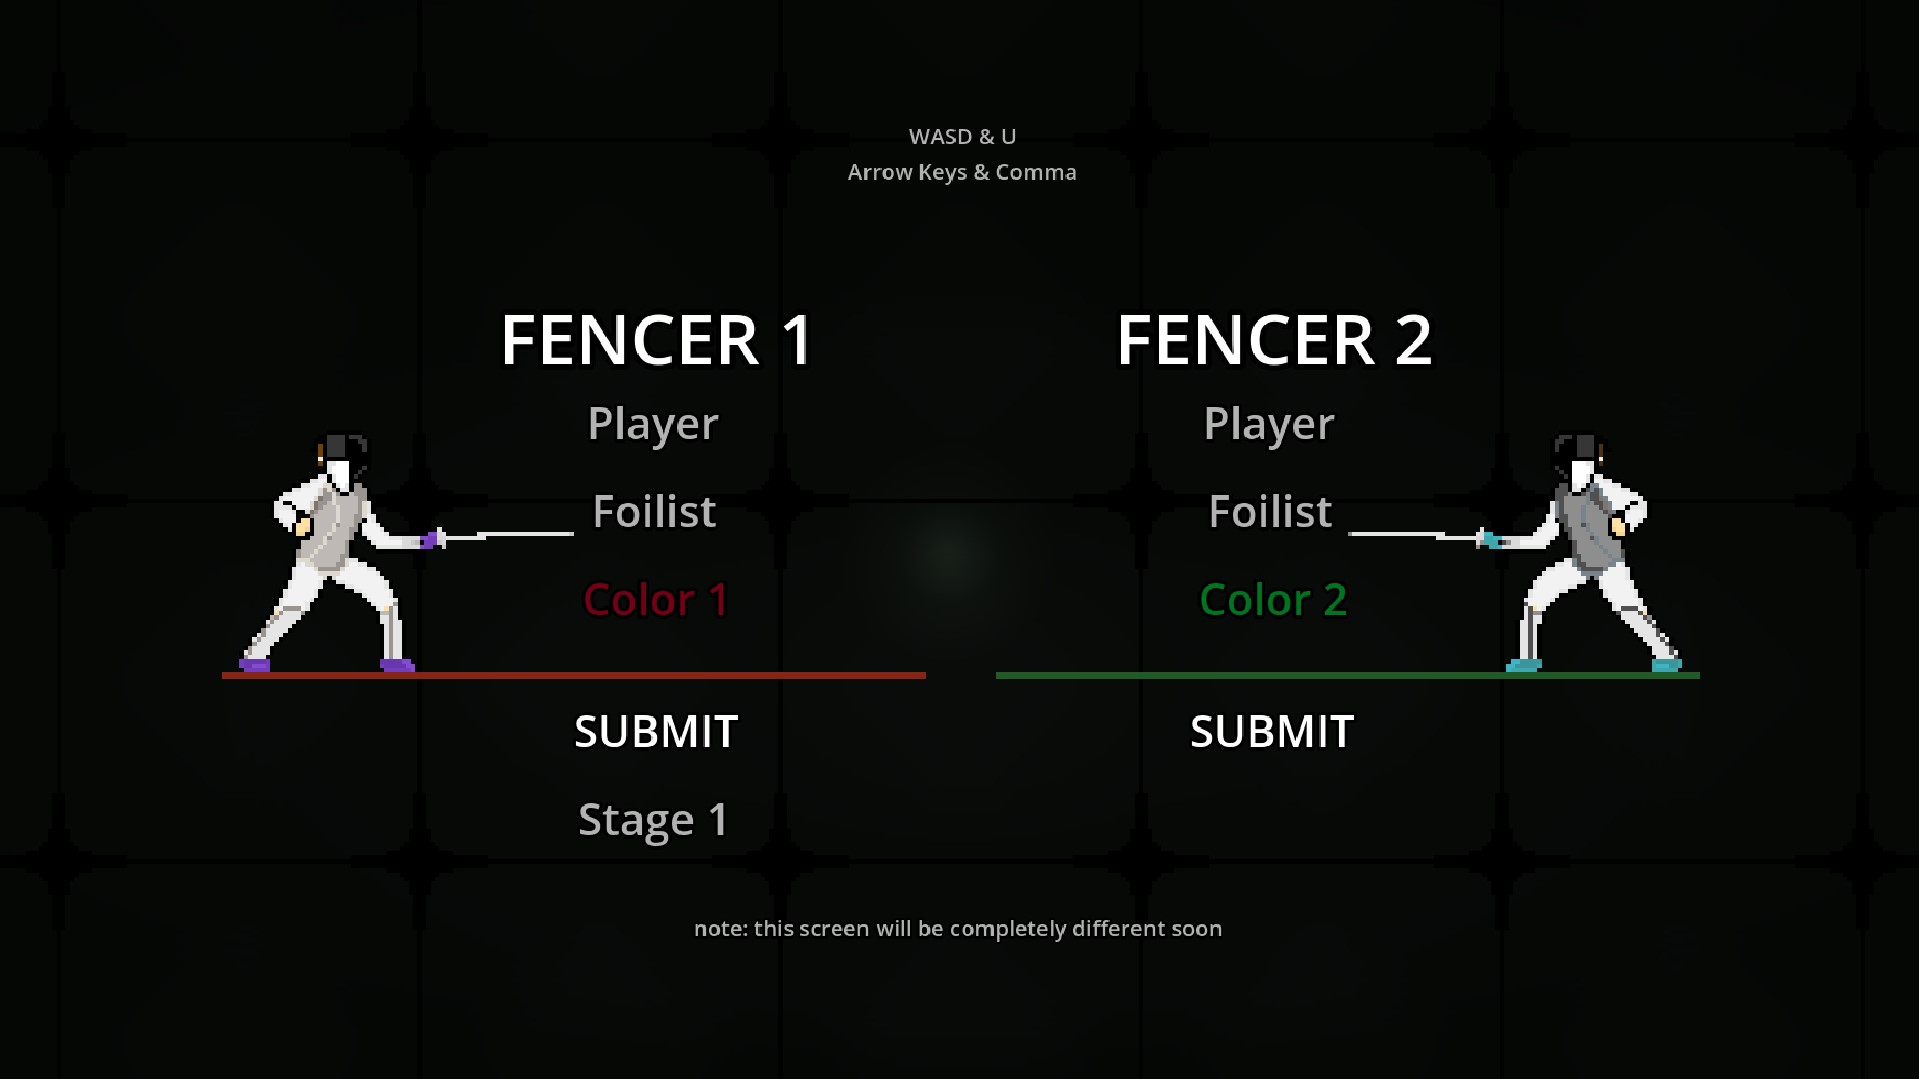
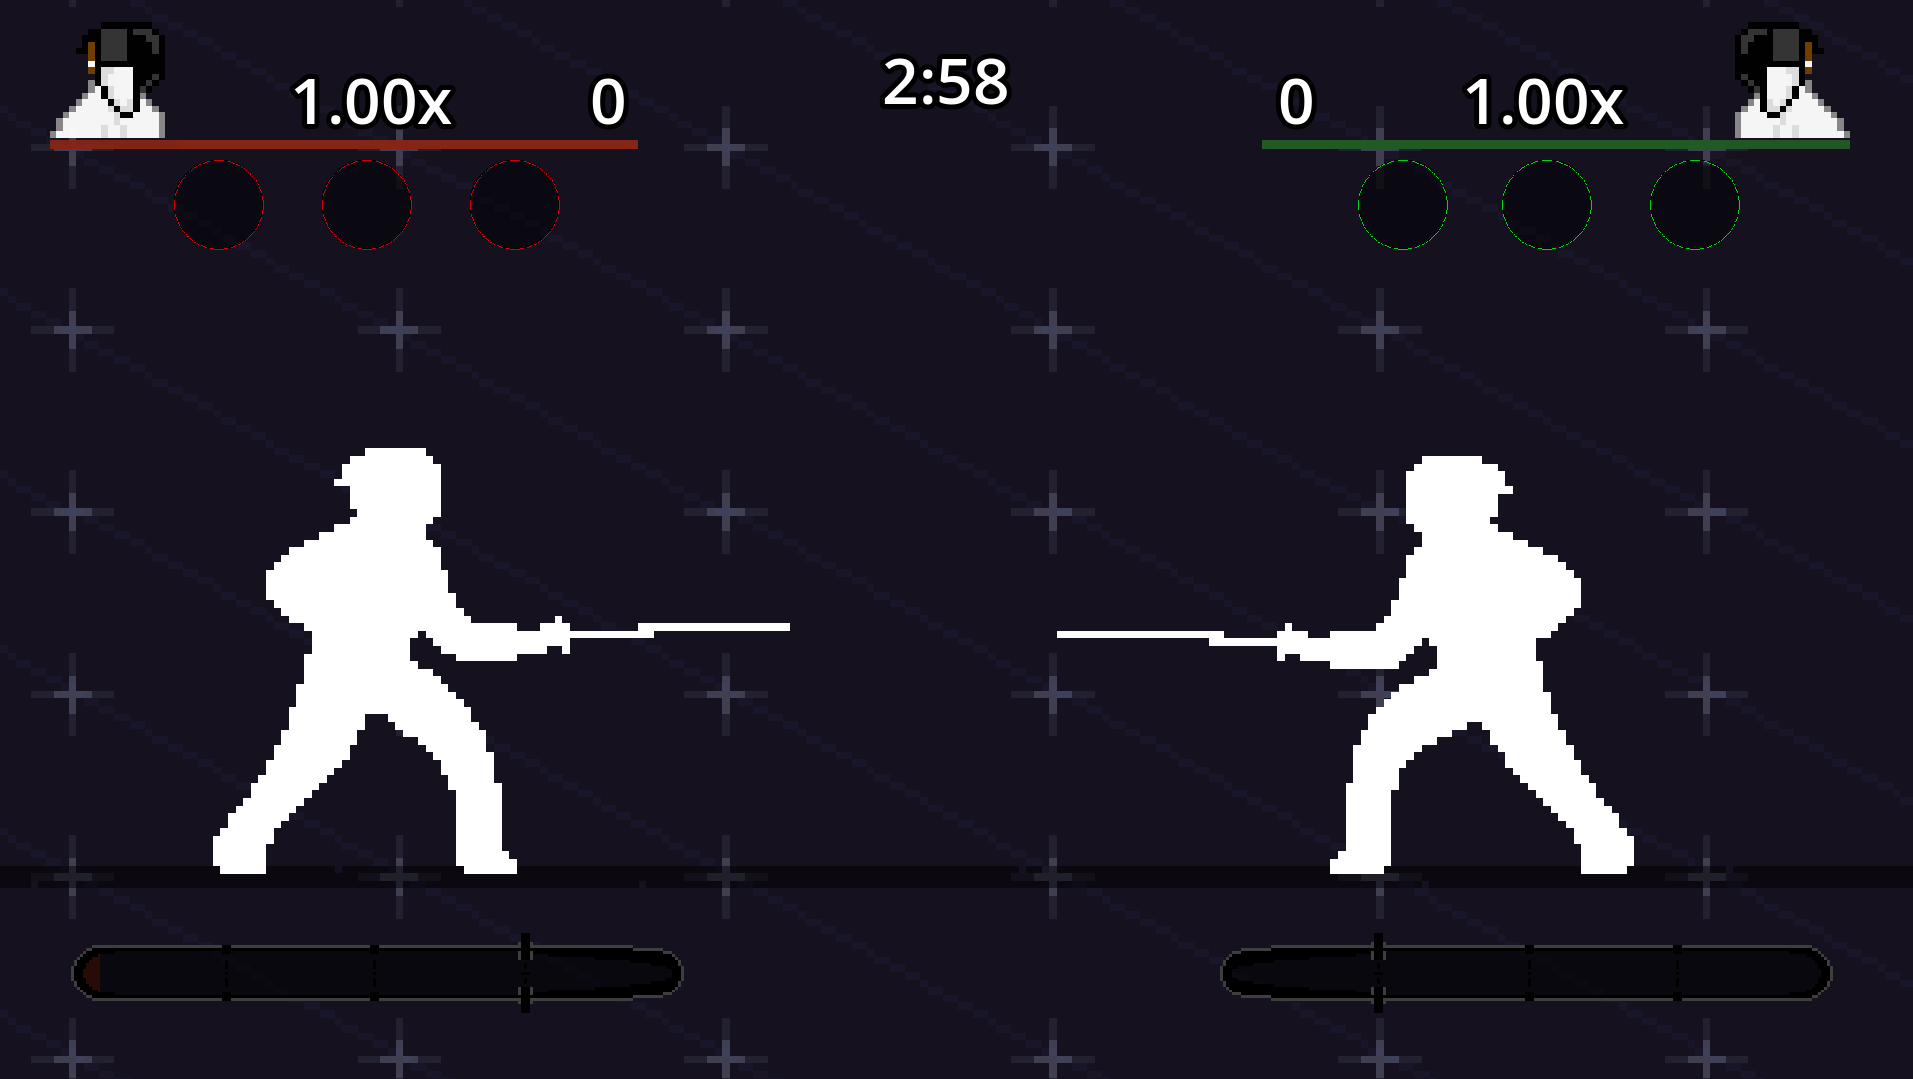
In the character selection screen, you can select the color of your character:
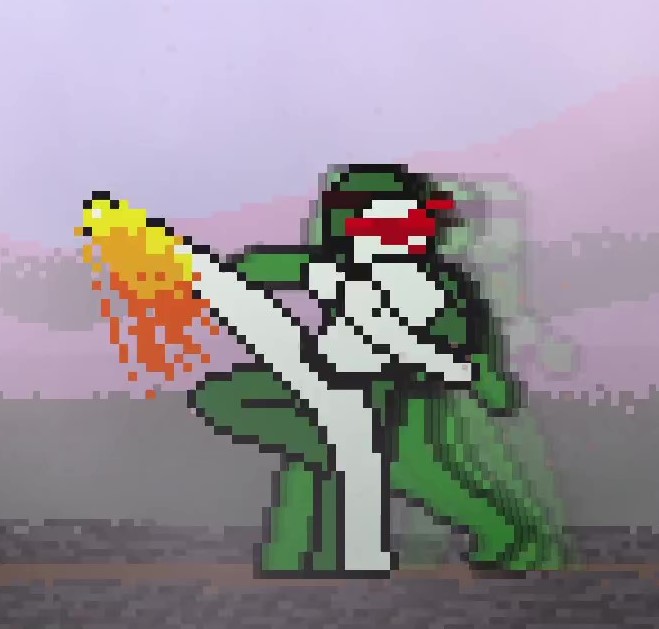
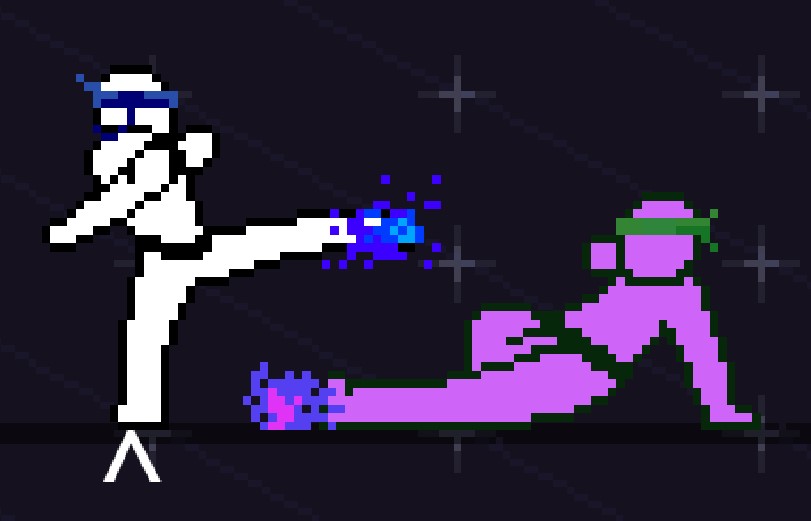
Wow, it even changes the color of effects!
Unfortunately, this was difficult to program. Far too difficult. I’m sick of shaders.
Let’s start simple: palettes. I exported the Foilist’s palette in Aseprite and got:
 Wait, this isn’t starting simple at all. Because, later on, I kept getting this:
 Spoiler alert, but later on, the shader code will have to reiterate through each pixel of the palette. However, the above palette has two rows, so the colors on the bottom are discounted. And yet, they have to be replaced… by what? That’s the bug; different sized palettes past the 16 color count break the shader. So, I manually altered each palette to get:


 As long as the colors stay in one row, the shader scales proportionally and can be used for any character, regardless of the color count.
 I don’t remember Sho having that many shades of red… that’s not good…
I created a ShaderMaterial on the Sprite2D, and gave it a new “VisualShader” shader with mode “CanvasItem”. Three custom parameters are made: the original palette, the new palette, and the color count. These can be edited in the engine per character, but that would limit us to two palettes. It’s better to pass the arguments in set in code. For example,
func colorPalette(sprite,colorCount,firstPalette,secondPalette):
	sprite.material.set_shader_parameter("ColorCount", colorCount)
	sprite.material.set_shader_parameter("Palette", firstPalette)
	sprite.material.set_shader_parameter("NewPalette", secondPalette)
The next code snippit will seem insane. I know. It’s okay, I’m not crazy, even though it only makes sense to me. Still, I want to include it (especially without any explanation because it’s funnier that way)
colorPalette(
	get_node(chars[plr1SelectionCharacter]+"Left"),
	globalSelections.colorTypes[chars[plr1SelectionCharacter]][0],
	globalSelections.colorTypes[chars[plr1SelectionCharacter]][1],
	globalSelections.colorTypes[chars[plr1SelectionCharacter]][plr1SelectionColor+1]
	)

colorPalette(
	get_node(chars[plr2SelectionCharacter]+"Right"),
	globalSelections.colorTypes[chars[plr2SelectionCharacter]][0],
	globalSelections.colorTypes[chars[plr2SelectionCharacter]][1],
	globalSelections.colorTypes[chars[plr2SelectionCharacter]][plr2SelectionColor+1]
	)
i just edited it to look better–it should be clearer what’s going on Now that the parameters are set, we need to add the following to the VisualShader’s “Fragment” section (top left). Alternatively, this can all be compiled in a regular shader script as a large block of code, which I’ll put at the bottom.
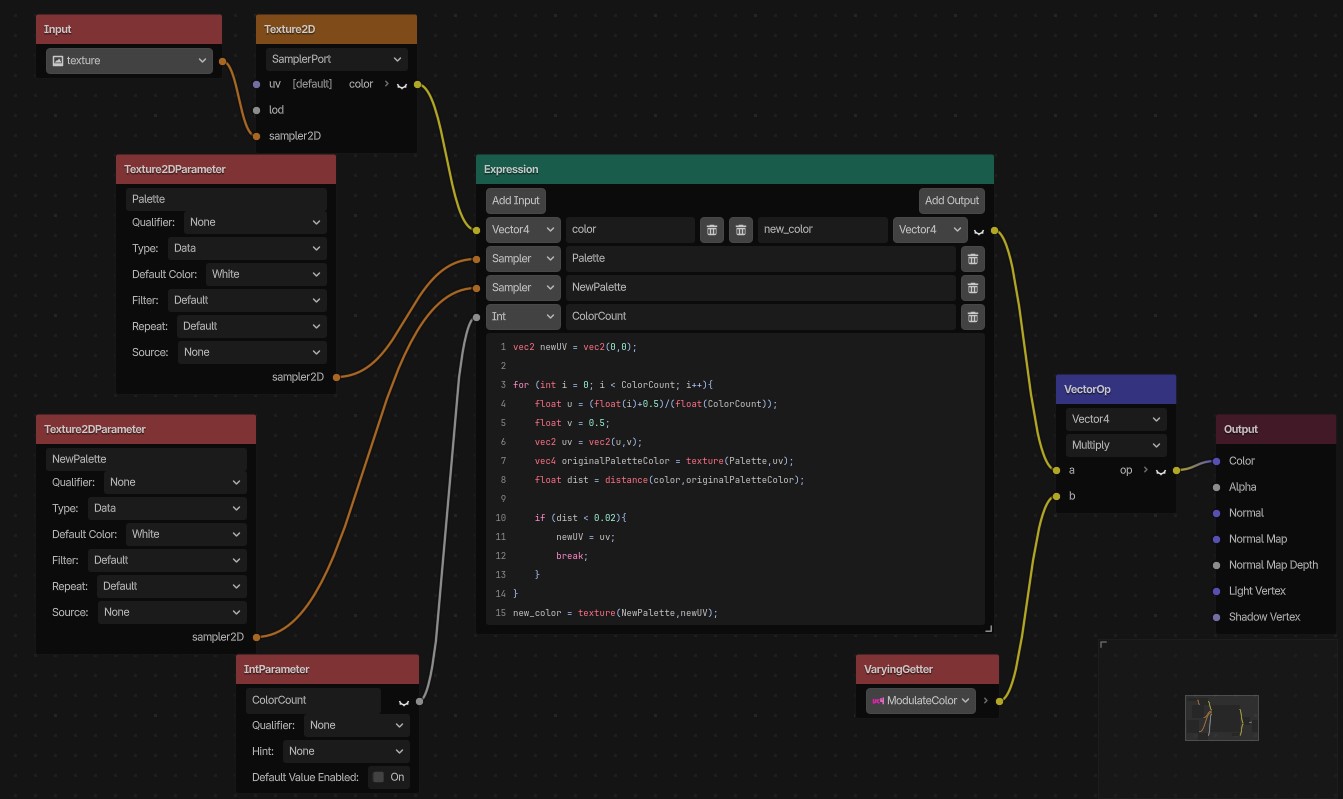 In this photo, there is a “VaryingGetter” and “VectorOp”. Ignore these for now–those fix a bug that will inevitably come up soon. I know, I know, I’m such a prophet.
The code in the body of Expression will be:
vec2 newUV = vec2(0,0);

for (int i = 0; i < ColorCount; i++){
	float u = (float(i)+0.5)/(float(ColorCount));
	float v = 0.5;
	vec2 uv = vec2(u,v);
	vec4 originalPaletteColor = texture(Palette,uv);
	float dist = distance(color,originalPaletteColor);

	if (dist < 0.02){
		newUV = uv;
		break;
	}
}
new_color = texture(NewPalette,newUV);
“dist < .02” is for edge cases, making sure that the color converts if the new palette color’s Vector4 is within a really close range to the original palette color Vector4. Without this conditional, the shader can get buggy, unpredictably failing to convert color. Of course, one may ask, “How did you decide on ‘.02’?” Great question!
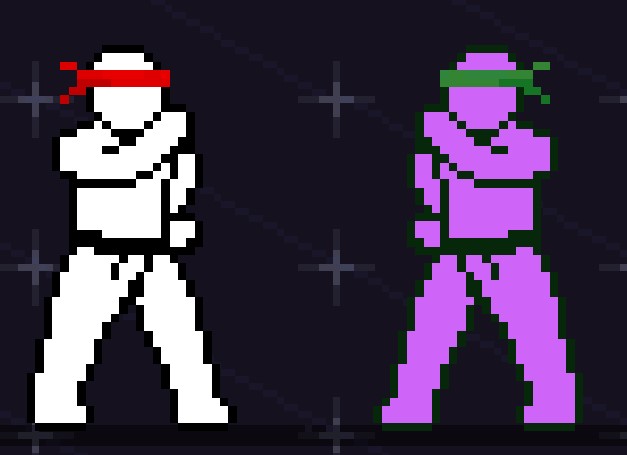
Moving on, this works! Now, Sho can be a watermelon, which was obviously the goal this entire time.
Wait…
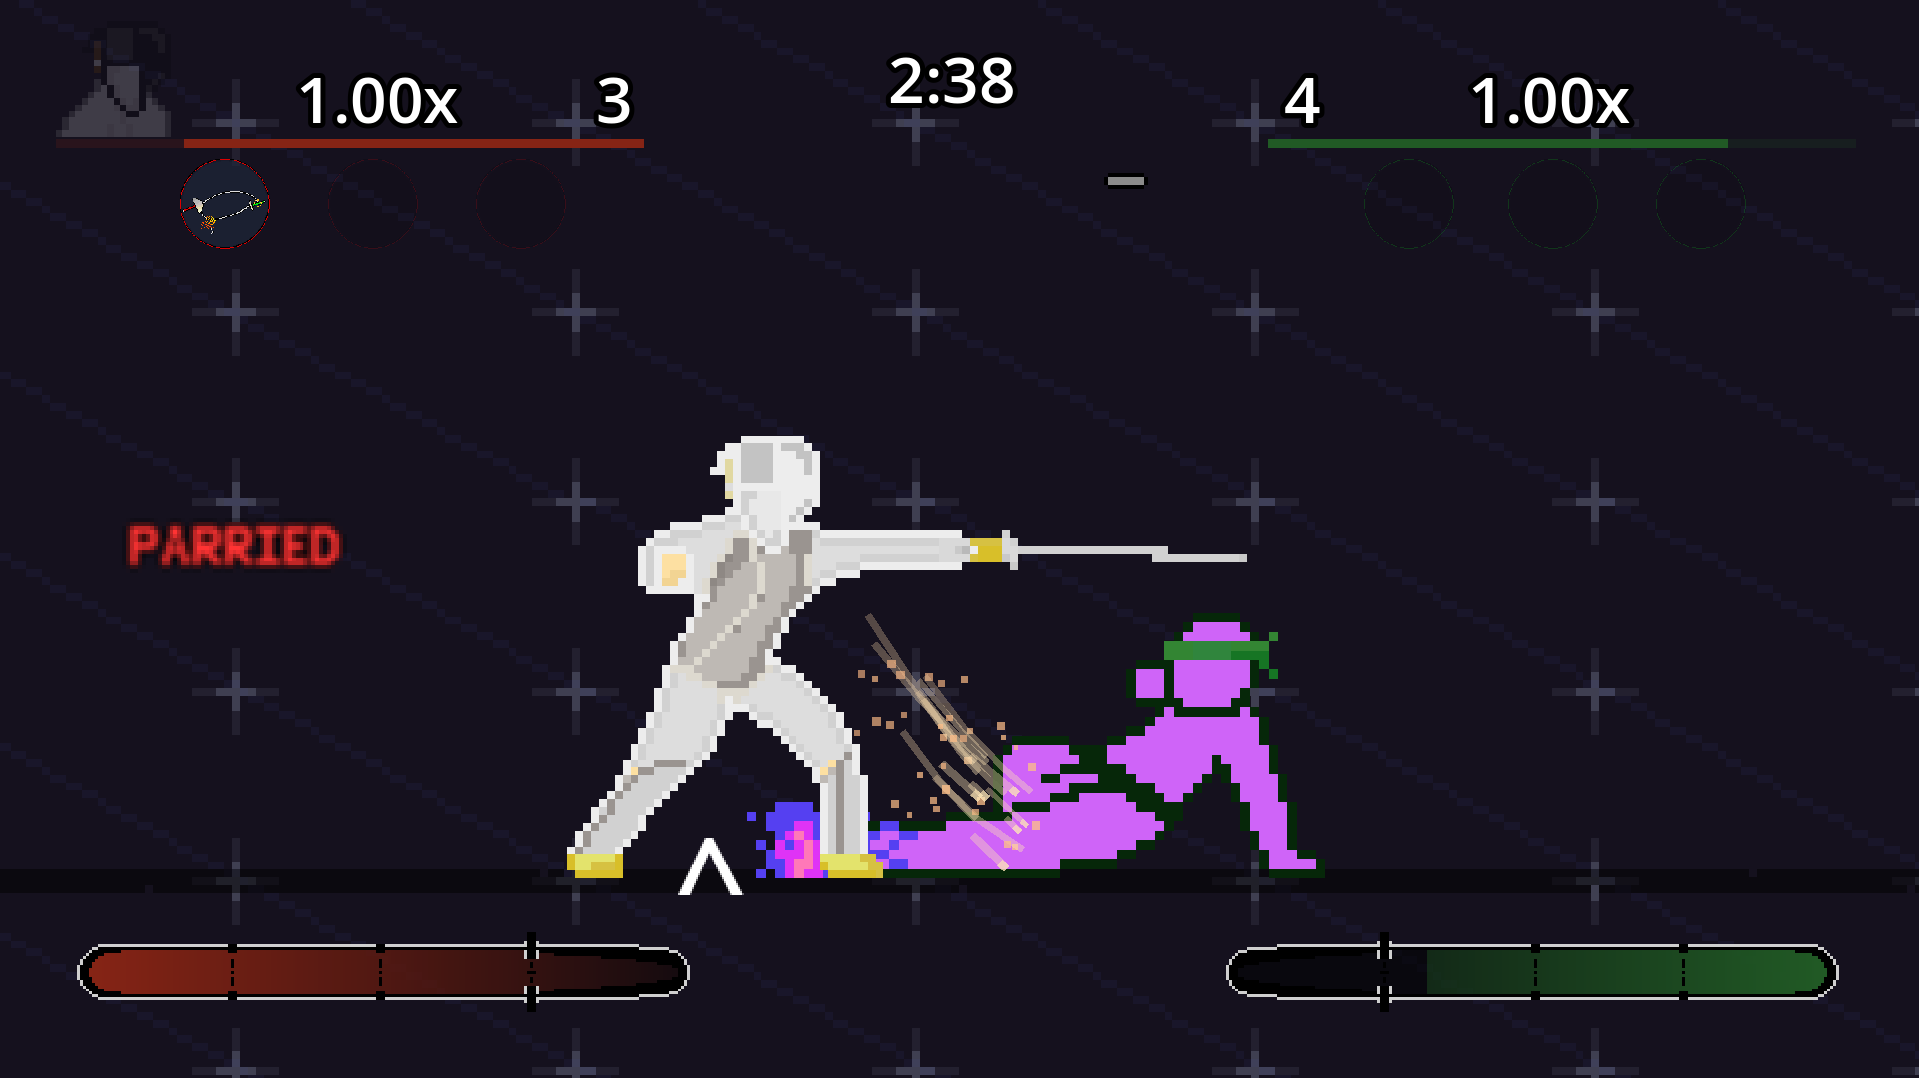 Do you see that?
It says “PARRIED”.
So, why isn’t the Foilist flashing red?
Unfortunately, this shader overrides the color entirely, including the modulate and self_modulate properties. The shader is a fragment shader, and directly sets the color per pixel, not much we can do about that.
Good thing I’m here.
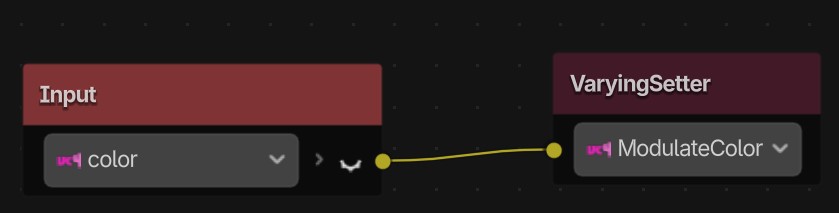
Back in the VisualShader, switch to the “Vertex” mode. Scary, I know. At the top, add a Varying called “ModulateColor”. Set it with the following:
Do you see that?
It says “PARRIED”.
So, why isn’t the Foilist flashing red?
Unfortunately, this shader overrides the color entirely, including the modulate and self_modulate properties. The shader is a fragment shader, and directly sets the color per pixel, not much we can do about that.
Good thing I’m here.
Back in the VisualShader, switch to the “Vertex” mode. Scary, I know. At the top, add a Varying called “ModulateColor”. Set it with the following:
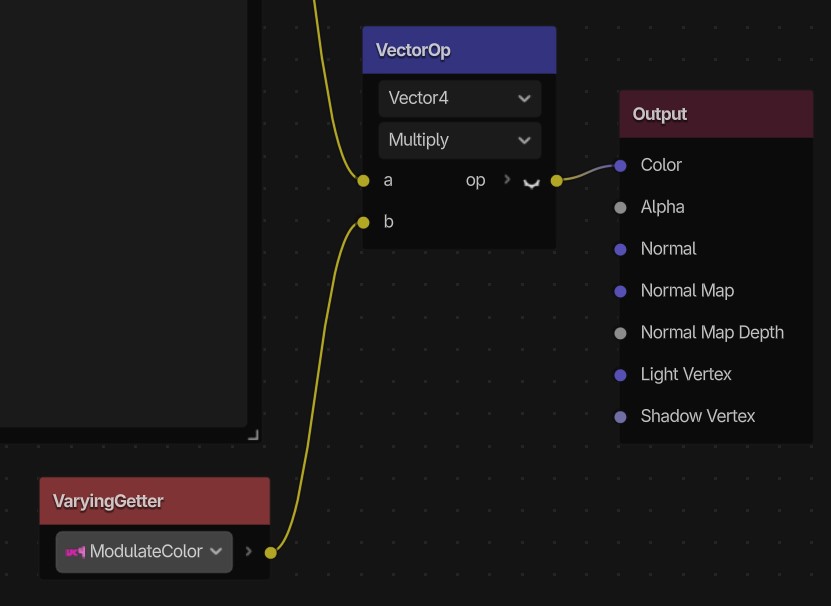
 Go back to “Fragment” and add a “VectorOp” for multiplying Vector4’s. Disconnect the Expression’s output and connect it to the VectorOp. Add a VaryingGetter and connect it to the other VectorOp input. Finally, connect the VectorOp output to the shader Output’s Color input. Done.
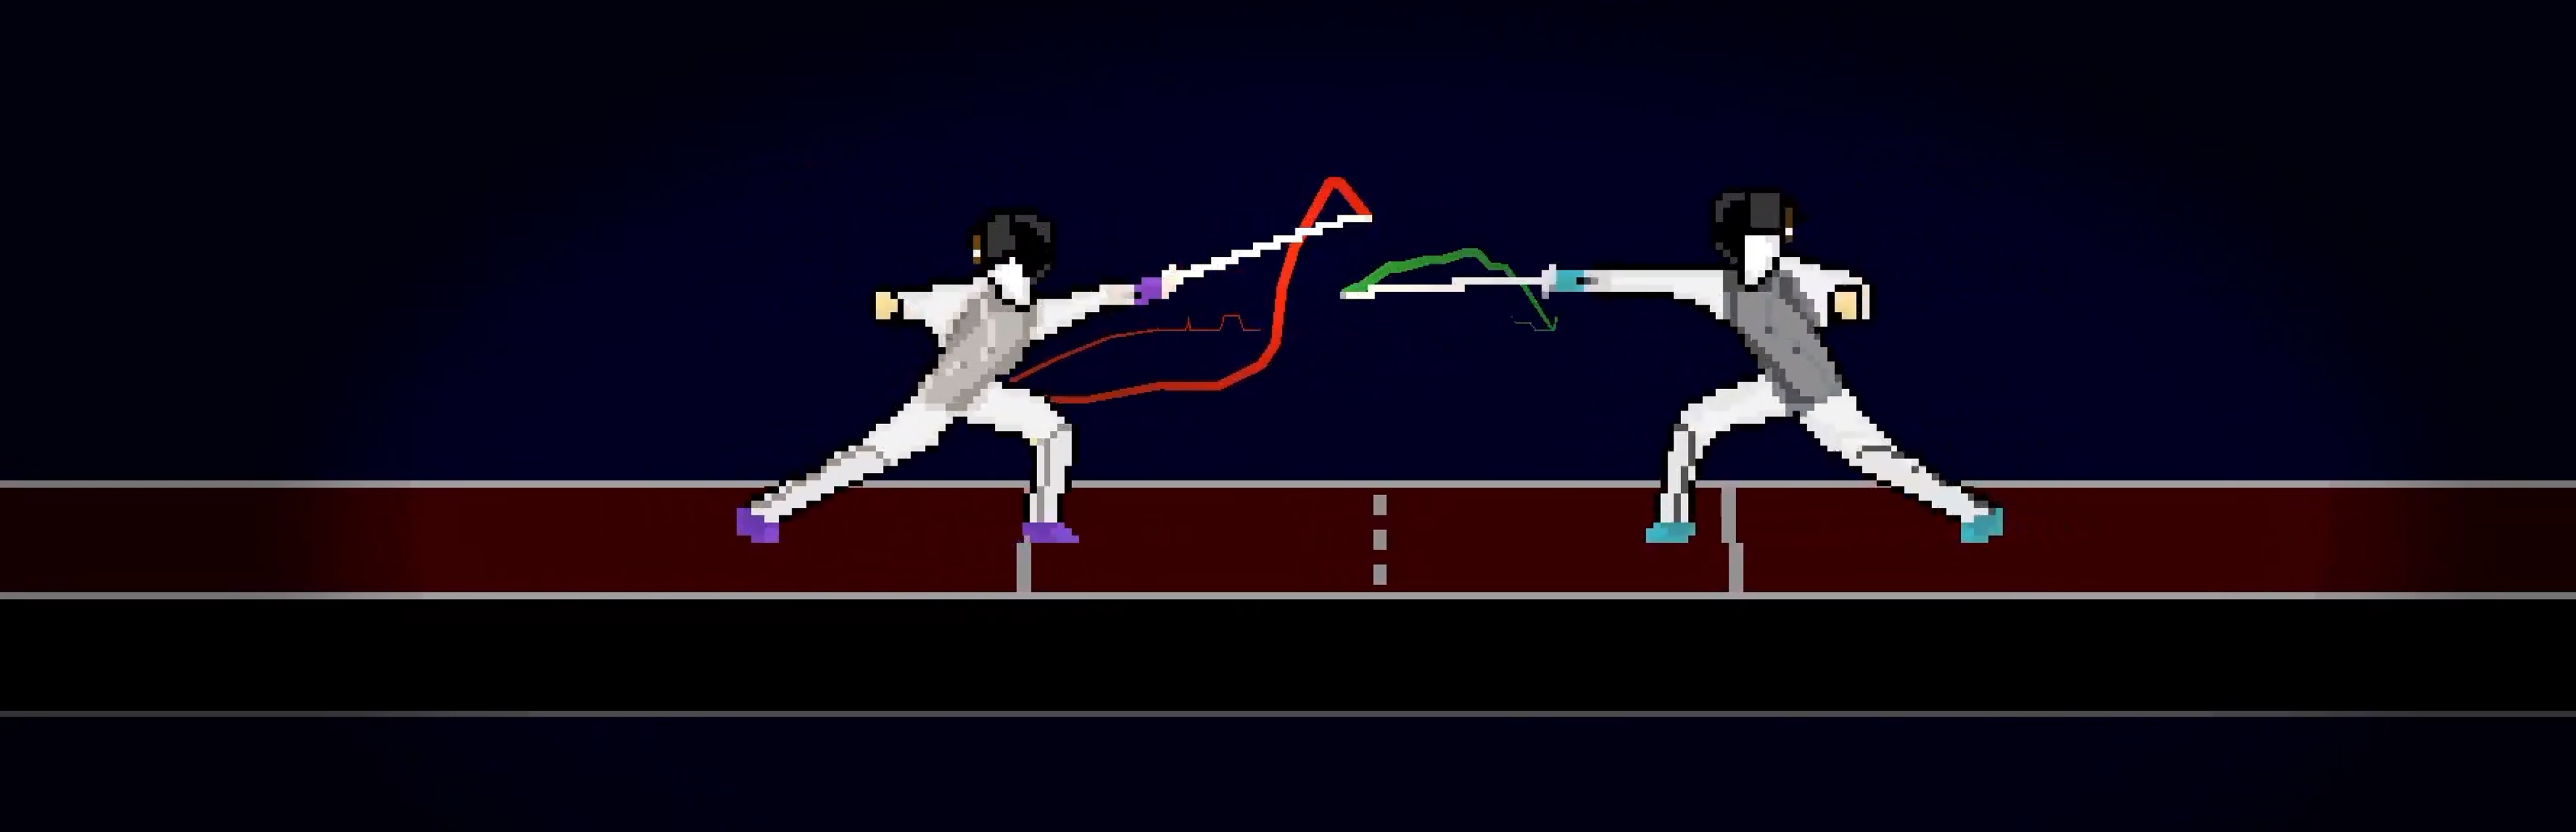
Great! Now, modulation is stored BEFORE the palette swap, then multiplied AFTER the palette swap. Characters can change their colors in real-time, both through their modulation and palettes. You’d think this would be a simple button somewhere, but hey, I’m happy it works. Only took me 2 hours with my laptop at Panera…
shader_type canvas_item;
render_mode blend_mix;


// Varyings
varying vec4 var_ModulateColor;

uniform sampler2D Palette;
uniform sampler2D NewPalette;
uniform int ColorCount;

void vertex() {
// Input:3
	vec4 n_out3p0 = COLOR;
// VaryingSetter:2
	var_ModulateColor = n_out3p0;
}
void fragment() {
	vec4 n_out3p0;
// Texture2D:3
	n_out3p0 = texture(TEXTURE, UV);

// IntParameter:6
	int n_out6p0 = ColorCount;


	vec4 n_out7p0;
// Expression:7
	n_out7p0 = vec4(0.0, 0.0, 0.0, 0.0);
	{
		vec2 newUV = vec2(0,0);

		for (int i = 0; i < n_out6p0; i++){
			float u = (float(i)+0.5)/(float(n_out6p0));
			float v = 0.5;
			vec2 uv = vec2(u,v);
			vec4 originalPaletteColor = texture(Palette,uv);
			float dist = distance(n_out3p0,originalPaletteColor);

			if (dist < 0.02){
				newUV = uv;
				break;
			}
		}
		n_out7p0 = texture(NewPalette,newUV);
	}


// VaryingGetter:8
	vec4 n_out8p0 = var_ModulateColor;


// VectorOp:9
	vec4 n_out9p0 = n_out7p0 * n_out8p0;


// Output:0
	COLOR.rgb = vec3(n_out9p0.xyz);


}
so worth it
Colored visual effect that trails delayed
The coolest visual feature ever
How the rule of priority was programmed
