

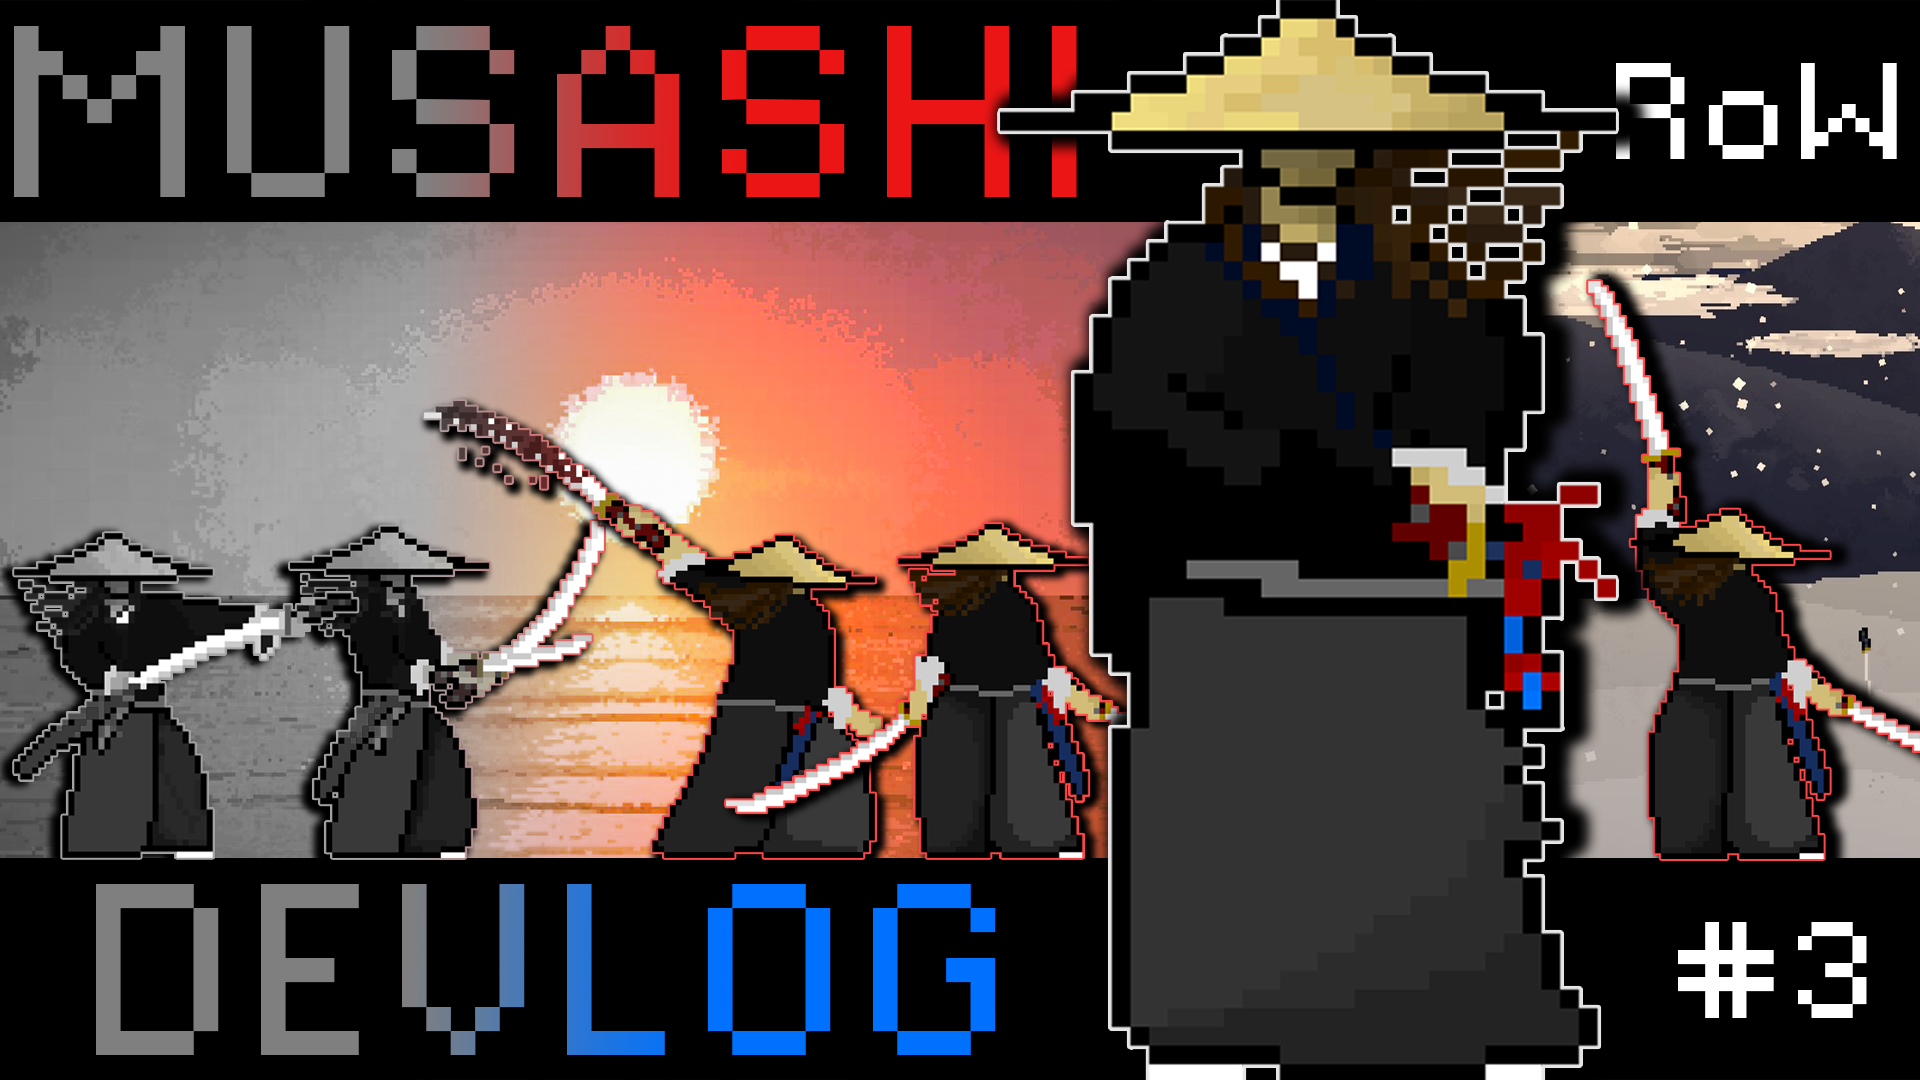
Musashi Devlog
Behind-the-scenes, including the script

After writing a script, about 20% is deleted. Then, after recording voiceovers, about 30% is deleted. Trust me, videos are really trimmed down–the following script isn’t nearly as much as I wrote, and definitely nowhere close to how much work I put in.
The following is copied-and-pasted from the huge devlog text file. Italics designate things to edit/show on screen.
2279 words.
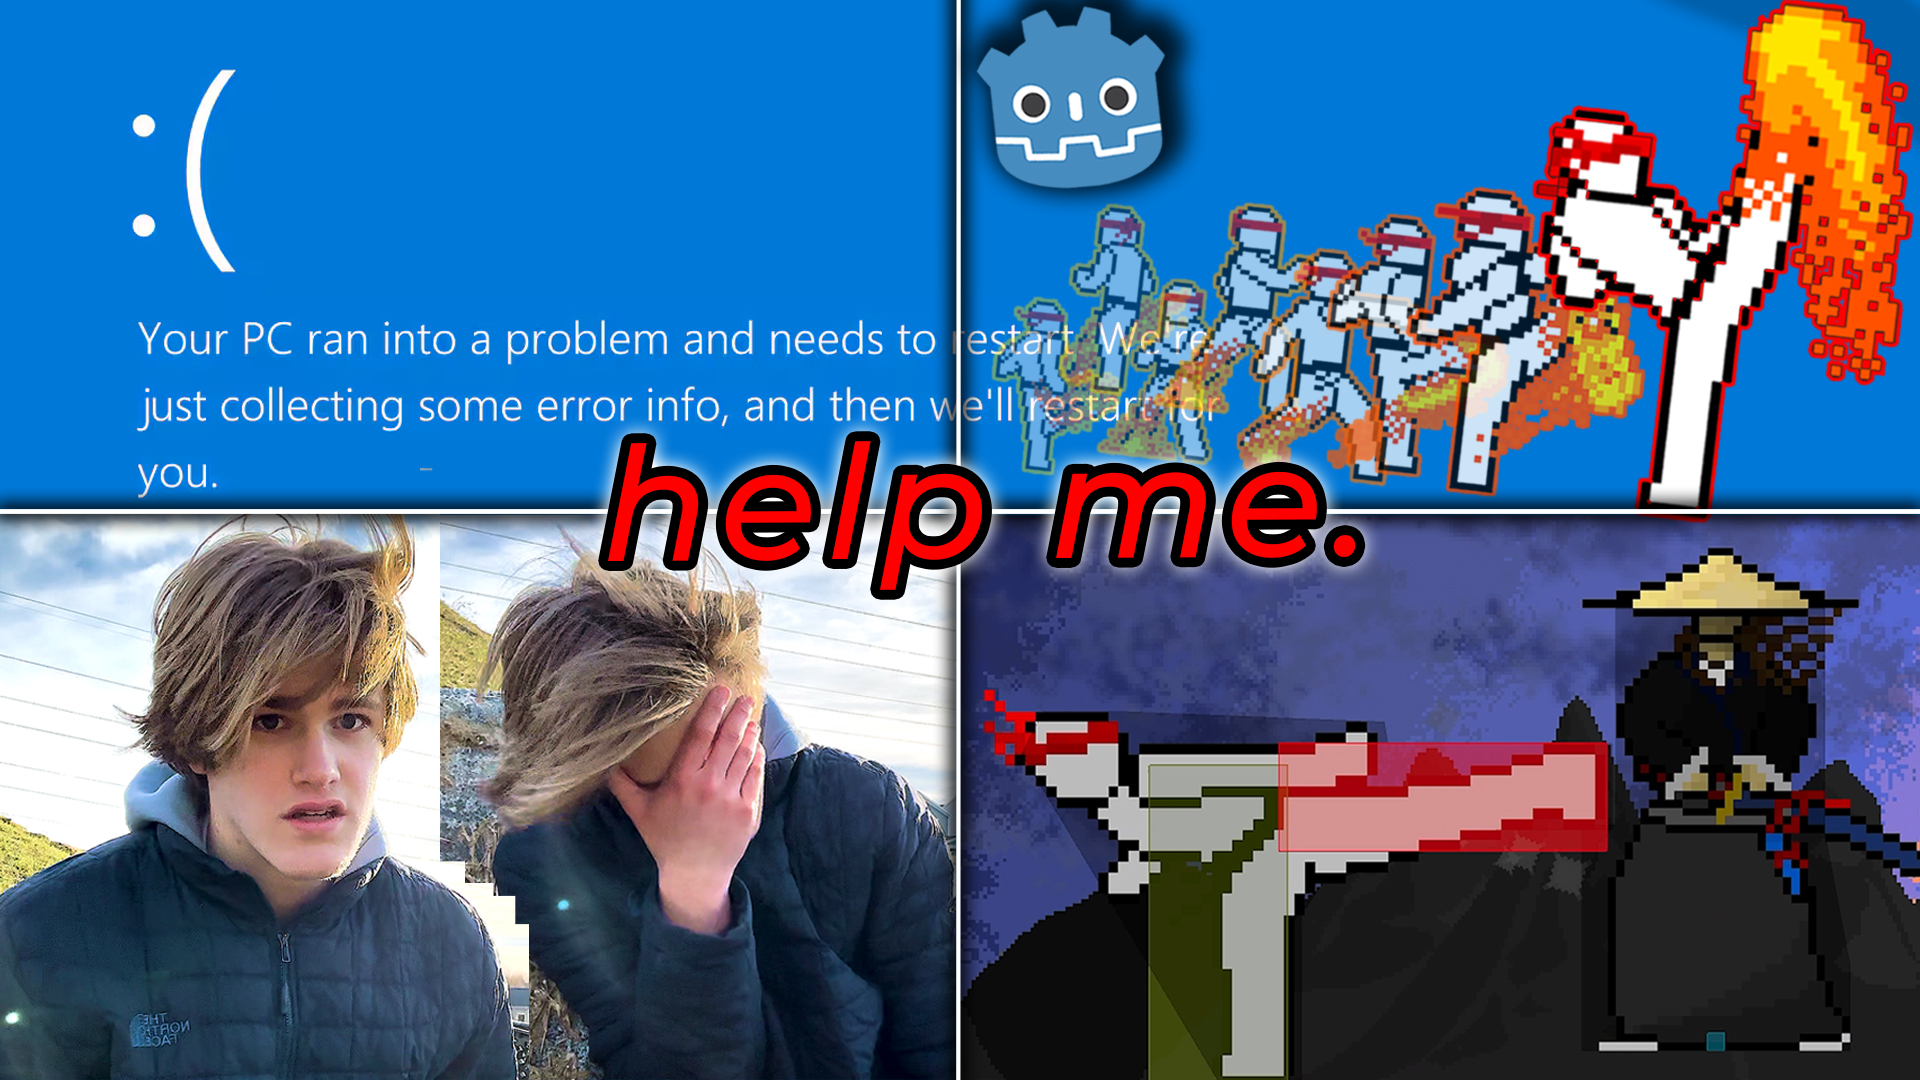
super attack That was entirely practical effects. Well, except for one simple, broken, buggy shader. For those who don’t know, a “shader” controls how the on-screen image is rendered, therefore deciding how light, color, and texture are displayed. There are three main types: vector, fragment, and compute shaders. Vector shaders transform each vector’s 3D position into a 2D coordinate, with depth applied. This is most useful for controlling the position, lighting, and color of 3D models. Then, fragment shaders operate on individual pixels. They determine the color and transparency, which can be built upon to compute wrinkles, shadows, specular highlights, etc. Finally, compute shaders operate outside of the main graphics pipeline. Instead of directly being considered on the way to displaying a pixel on screen, computer shaders run on their own track–well, tracks. You see, compute shaders run in parallel, calculating an abundant amount of data simultaneously. But, none of that complex stuff matters for this video. Actually, that was exactly my problem. I had no idea how to code any of that complex stuff. What I wanted was for the screen to go monochrome, then dark, then cut in half, then explode outwards, finished by a bright aftereffect. For this, a fragment shader was obvious. If I wanted the screen to become black-and-white, I just needed to write some code that said, “hey, pixels, become black and/or white and/or some kind of gray.” Then the pixels would do that and everyone would be happy and- cut off by ugly mess Wait… how do you code a shader?
On the outline of the script I’m reading right now, I said I’d explain this monochrome shader. However, this video is not about shaders, but how I came up with practical solutions to work around them. also i lowkey copied all of this off of stack overflow BUT that’s exactly what programming is, right? I’ll give a short summary: It gets the RGB color of a pixel below the shader, then runs that color through a function that returns the combined, compressed “luminance” value. a float Then, it sets the pixel’s RGB colors to match that brightness value we just got. Finally, mix that brightness value with the original RGB color vector, and boom, screen go black-and-white. It’s easier to explain how the brightness and contrast were graded. I sent the new color to multiply by a chosen factor, then added onto it for brightness. That’s the extent of my shader knowledge. Unfortunately, there’s a lot more to do.
I wanted the screen to explode after it went black. Specifically, it would shatter like glass, with shards spread across the screen. These shards would shine upon whatever was below it, and refract colors with a slight rainbow tinge. Now… how do you code this? Uh… Let’s start with something simpler.
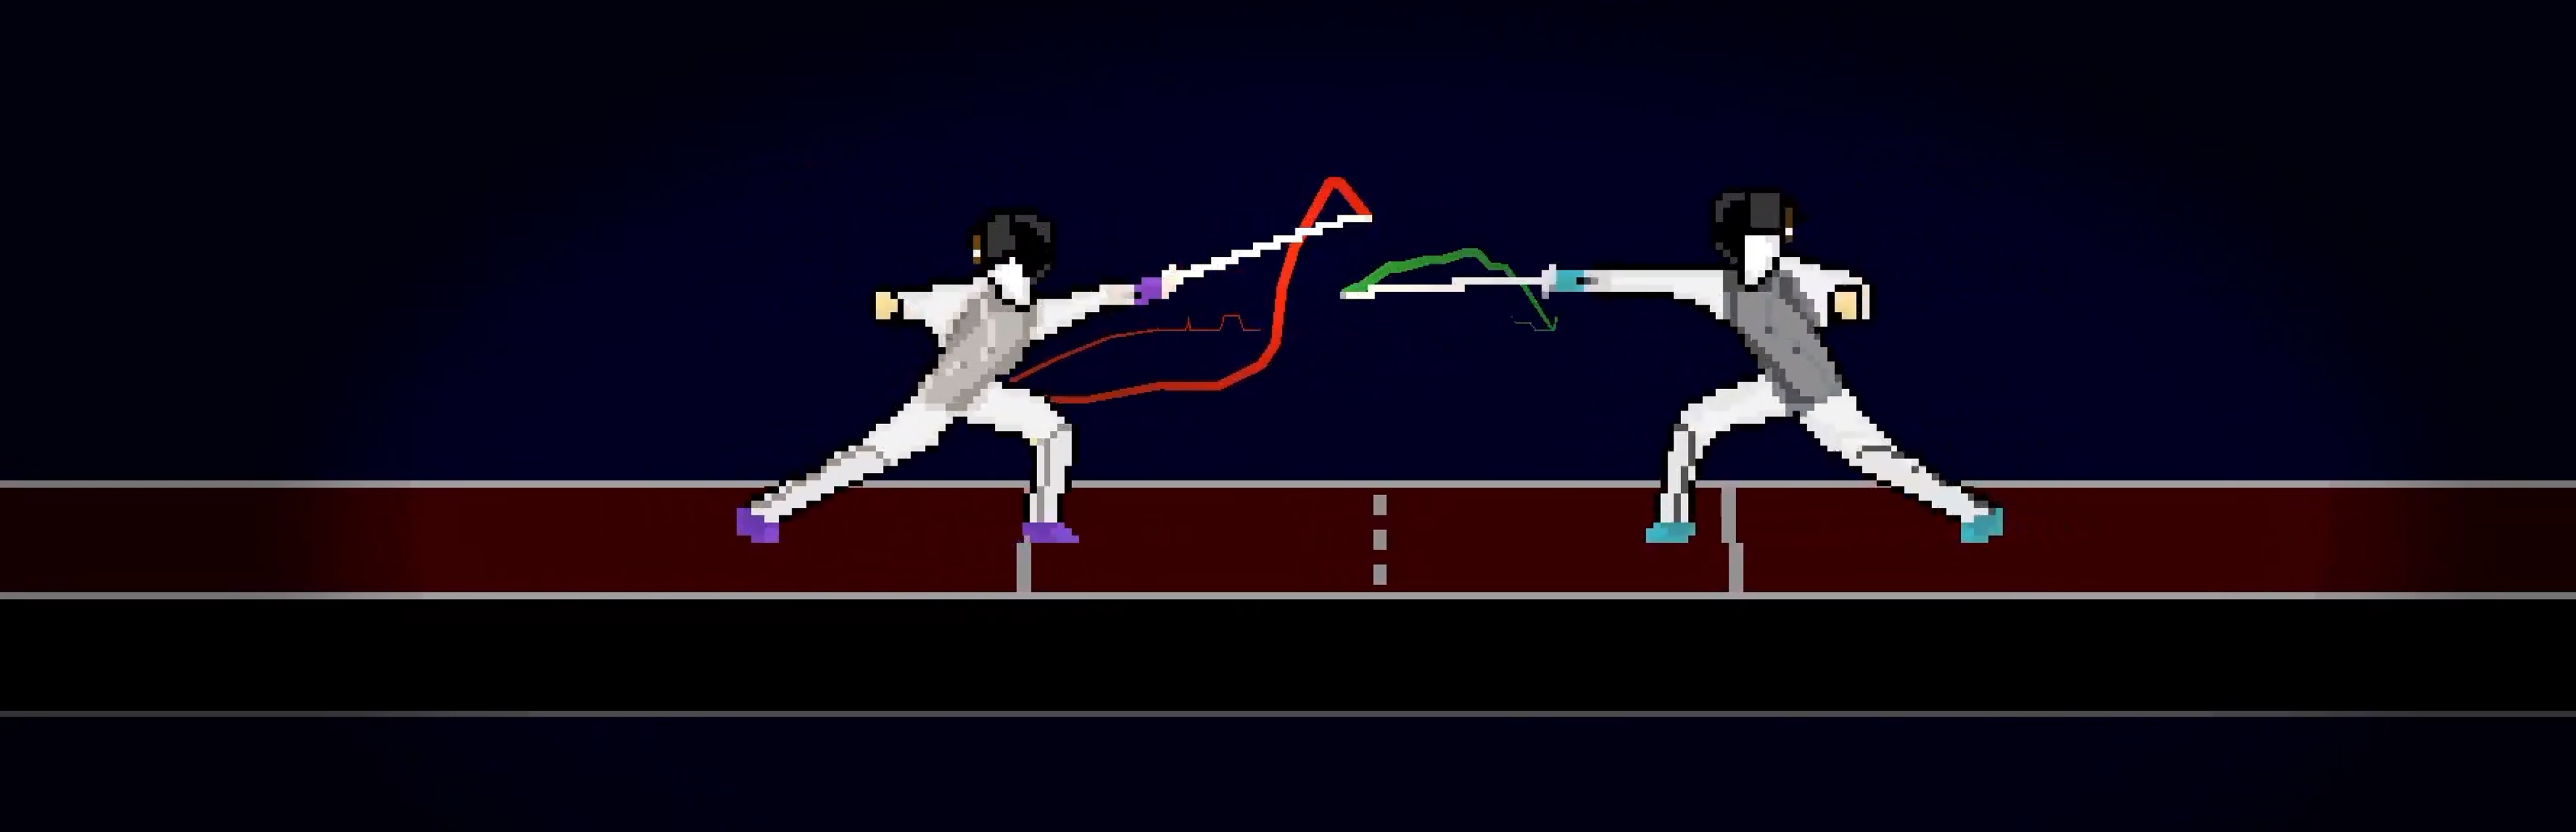
The black bars you see in movies is from “letterboxing”. I wanted to animate letterbox bars to grow exponentially, then ease in. Usually, this could be done with bezier interpolation, show premeire pro me editing a letterbox to be animated with bezier keyframes but I found that Godot’s bezier curves made animations look too… manufactured. And, I couldn’t animate both bars in one track, so if I wanted to change something, I’d have to alter both. So, I decided to draw the bars myself.
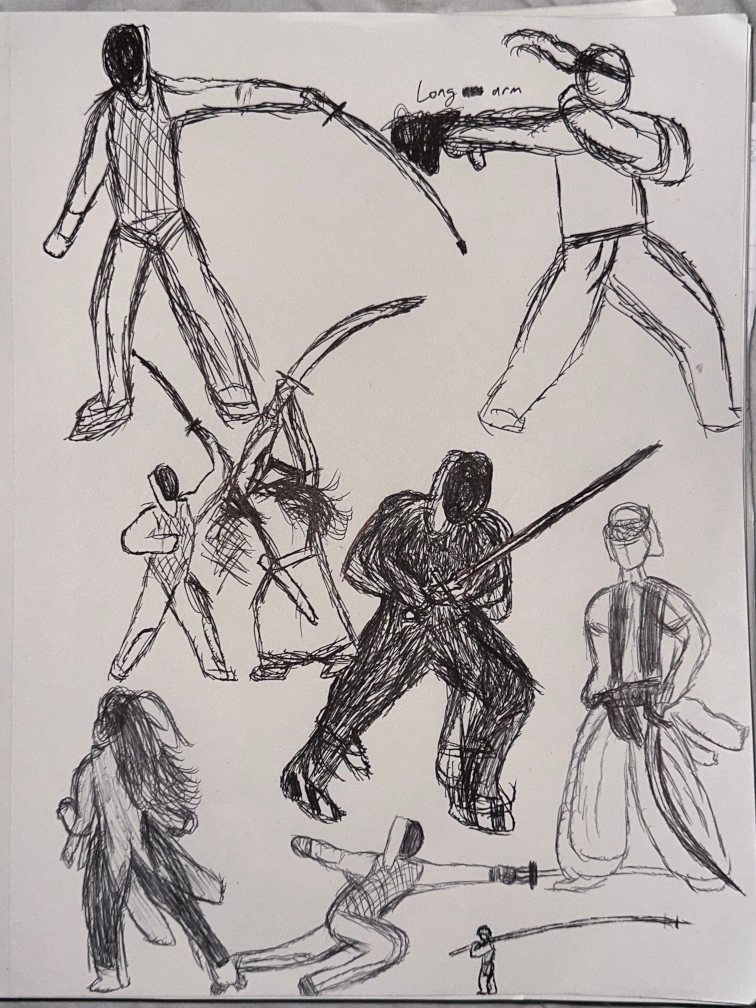
What better time than on a plane to California?
This can be a different video, but I toured colleges out in California, and on the plane ride, I drew all of this. Yeah, fun fact for you guys.
Here, a slash cuts through the exact middle of the screen.
Then, black bars come down, blocking the player’s view.
Because this is animated with a limited number of frames, the animation ends up having a pixel-art-esque appeal.
Sure, I could have animated within Godot like previously stated, or coded a shader to turn the screen black, but that wouldn’t be the same. Here’s why. fade to black vs black background coming down
As you can see, the shader interpolates from nothing to fully black by gradually changing the transparency value. Frankly, that’s boring.
Meanwhile, the latter, while a bit choppy, has much more charm, befitting a pixel art indie game.
In fact, the “choppy” framerate is a bonus. It’s reminiscent of handdrawn animations–well, isn’t that obvious? It is literally a handdrawn animation…
I purposefully chose a middle-ground between a choppy slideshow and a smooth transition.
Here’s a good example of why: Cinematics in Dragon Ball FighterZ and Guilty Gear. To replicate the handdrawn animation of animes, these games purposefully limit the framerate of cinematics to usually 24 frames per second–the standard framerate for anime is 24 fps. It’s hard to see in a 30 fps YouTube video, but FighterZ contrasts its smooth gameplay with choppier cinematic animations, maintaining the aesthetics of both fighting games and anime. FighterZ was developed by ArcSystems Works, who also developed Guilty Gear Xrd. It was a huge breakthrough in fighting games, as it pioneered the “2.5D artstyle”. This uses “cell shading” and loads of crazy stuff to make these 3D characters look 2D. If you didn’t know this, you may assume these characters were always 2D until, suddenly, you do a huge super attack and the camera changes perspective. The decades-old artstyle of fighting games is broken. Now, that super attack will linger in your subconscious. In conclusion, artstyle changes can be used for heavy emphasis where it’s needed.
Therefore, how can I, through this super animation, achieve a similar effect?
The letterbox and vertical bars are handdrawn, and animated at an inconsistent framerate–but always below 60 fps. Then, after a slight pause, suddenly… explosion That “explosion” is animated at a crisp 60 fps–well, that’s not fair to say, actually. It isn’t really “animated” at all.
Instead of using an Animation Track, I created a GPU Particle 2D, changed its settings, and programmed a loop to generate rows of these particles. This took a lot of trial-and-error. I spent a LOT of time on the particle settings. This included accelerations, velocities, color ramps, even orbital motion. I tried out colors, sizes, and recorded enough failed attempts that I could make them a 2 hour movie. Then, the programming: I wrote a function that duplicates a single particle instance, places it in order, then increases the horizontal position variable. Next, it duplicates another particle, and at the end of the row, it finally moves down to the next row–and repeat. Of course, I had to test out different position and size values within the loop.
Anyways, this had to be tied back to the original Musashi animation. The Animation Track calls the function the same frame that the handdrawn sprite changes. Guess what? The particles move in a smooth 60 fps, contrasting sharply with the animation before, as if Musashi cut through the screen so fast that it changed the game completely.
Actually, since Musashi sliced through the screen itself, it’d make sense for the screen to shatter. You know how glass can reflect rainbow fragments of light? I wanted the screen to shatter into tiny pieces of glass, with rainbow contours, which would slowly fade away over time.
So, uh, how do you code this? Naturally, I went straight to Aseprite and drew a glass particle. I went heavy on the rainbow prism effect, then exported it to my Godot project. Then, I programmed a very simple shader based off of code I found online. I wanted the glass to be slightly transparent, and increase the highlights slash brightness of the pixels below it. Most importantly, the border would not brighten as well, but stay the same. Long story short, I could not figure this out. The border would be the only thing brightening, then everything would brighten, and some fixes made the entire sprite just disappear, and I couldn’t understand it. Again, my struggles with shaders prevented me from coding a solution. So, I had to work-around my problem by ONLY using practical effects.
I scrapped the glass idea and quickly drew this debris sprite. Then, I reused that aforementioned function to spawn the debris in rows. But, this time, the debris particle itself would spawn MULTIPLE instances of the sprite. And, it would have more randomized rotations and velocities. After all that…
I’m happy with this. As long as you aren’t 3 inches away from your screen, you won’t notice that the debris particles are square and identical.
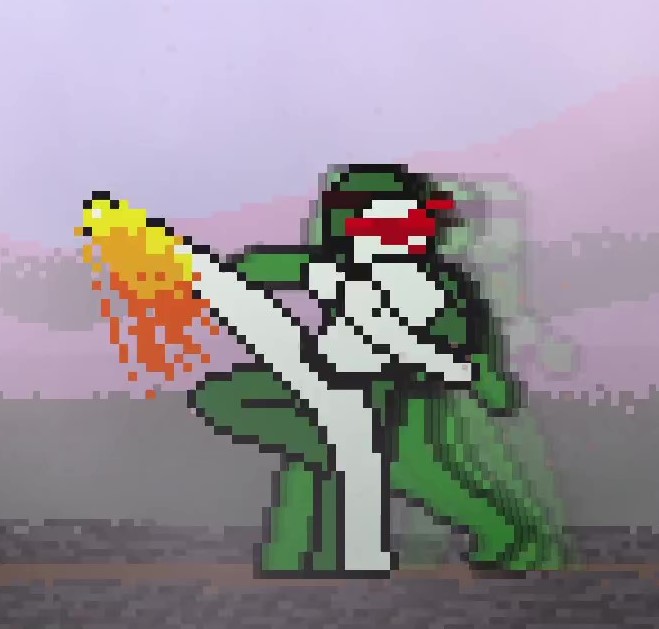
Finally, it all needs to be animated together. Here is Musashi’s sprite animation, in which he pauses after teleporting to the other end of the screen. Slowly, he brings his feet together and lowers his blade. Swiftly, he slams the handle against his forearm, which samurai would do to knock off blood. This was combined with a few other sprite animations in one track. Then, in one frame, a function is called to instantiate the shader and letterbox animation. In this animation track, the shader was keyframed to shoot out like a spring, emphasizing Musashi’s parry. And, I keyframed the shader to turn monochrome, then later explode with contrast, as you’ve seen throughout this video. Technically, I am not keyframing the shader itself, because that implies the shader MATERIAL is keyframed, which causes problems. So, the parent node’s variables are keyframed, which then update the shader. Next, in Musashi’s animation track, I programmed functions to override the camera and set its position and zoom–relative to Musashi. This is when animating became incredibly tedious. Back when I was editing the Musashi devlog, a few days before uploading, I spent 3 hours straight just fine-tuning these keyframes–not even including the time spent writing the camera interpolation. Similarly, I spent too much time changing Musashi’s velocity keyframes so that he would teleport a perfect distance away.
I probably just said “keyframe” 30 times. Anyways, after all the trial-and-error… it looks great.
I still want it to explode into shards of glass, but with my limited knowledge of shaders, this challenged me to learn and grow. After speaking about Musashi so much, I’m reminded of one of his quotes: ==You must understand that there is more than one path to the top of the mountain== If you struggle with something, remember that. Thanks for watching.
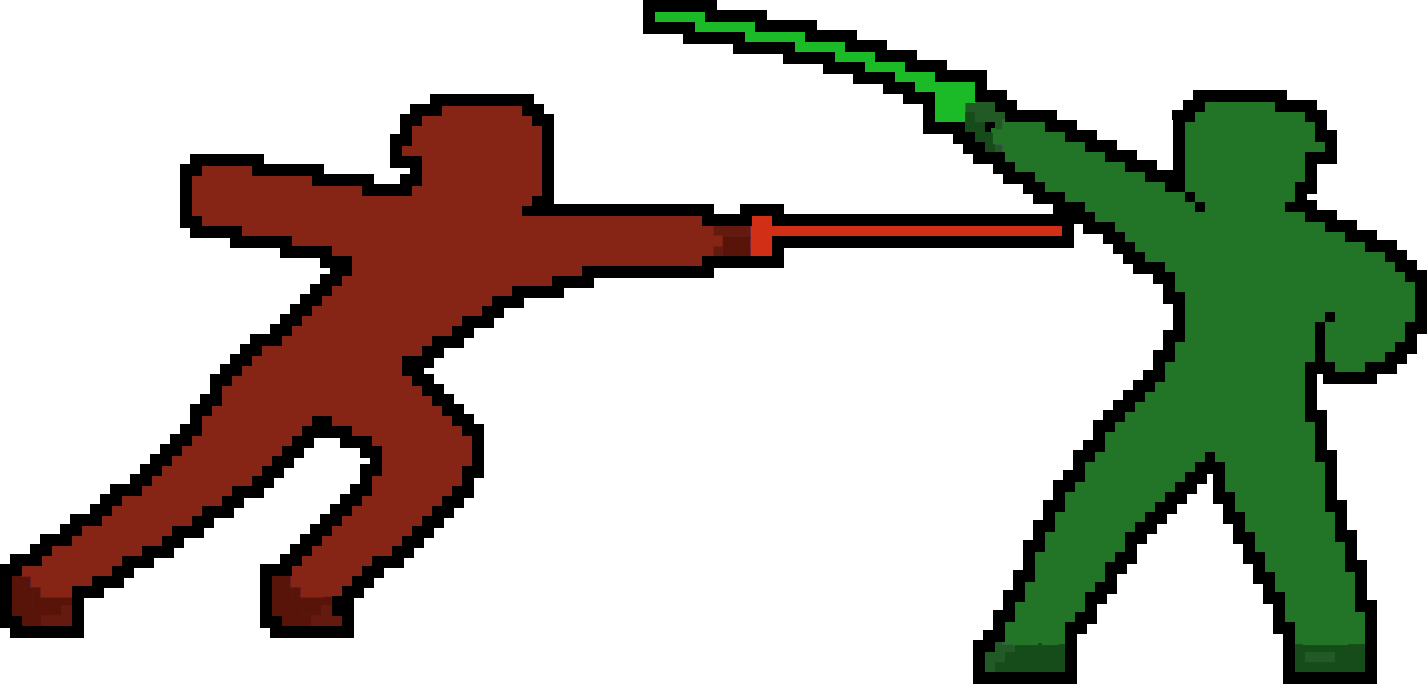
I wanted the super to be a parry/counter. A ring-like wave of monochrome would bob and flow from the center towards the edge of the screen.
Behind-the-scenes, including the script
Behind-the-scenes, including the script
Behind-the-scenes, including the script