
Gameplay
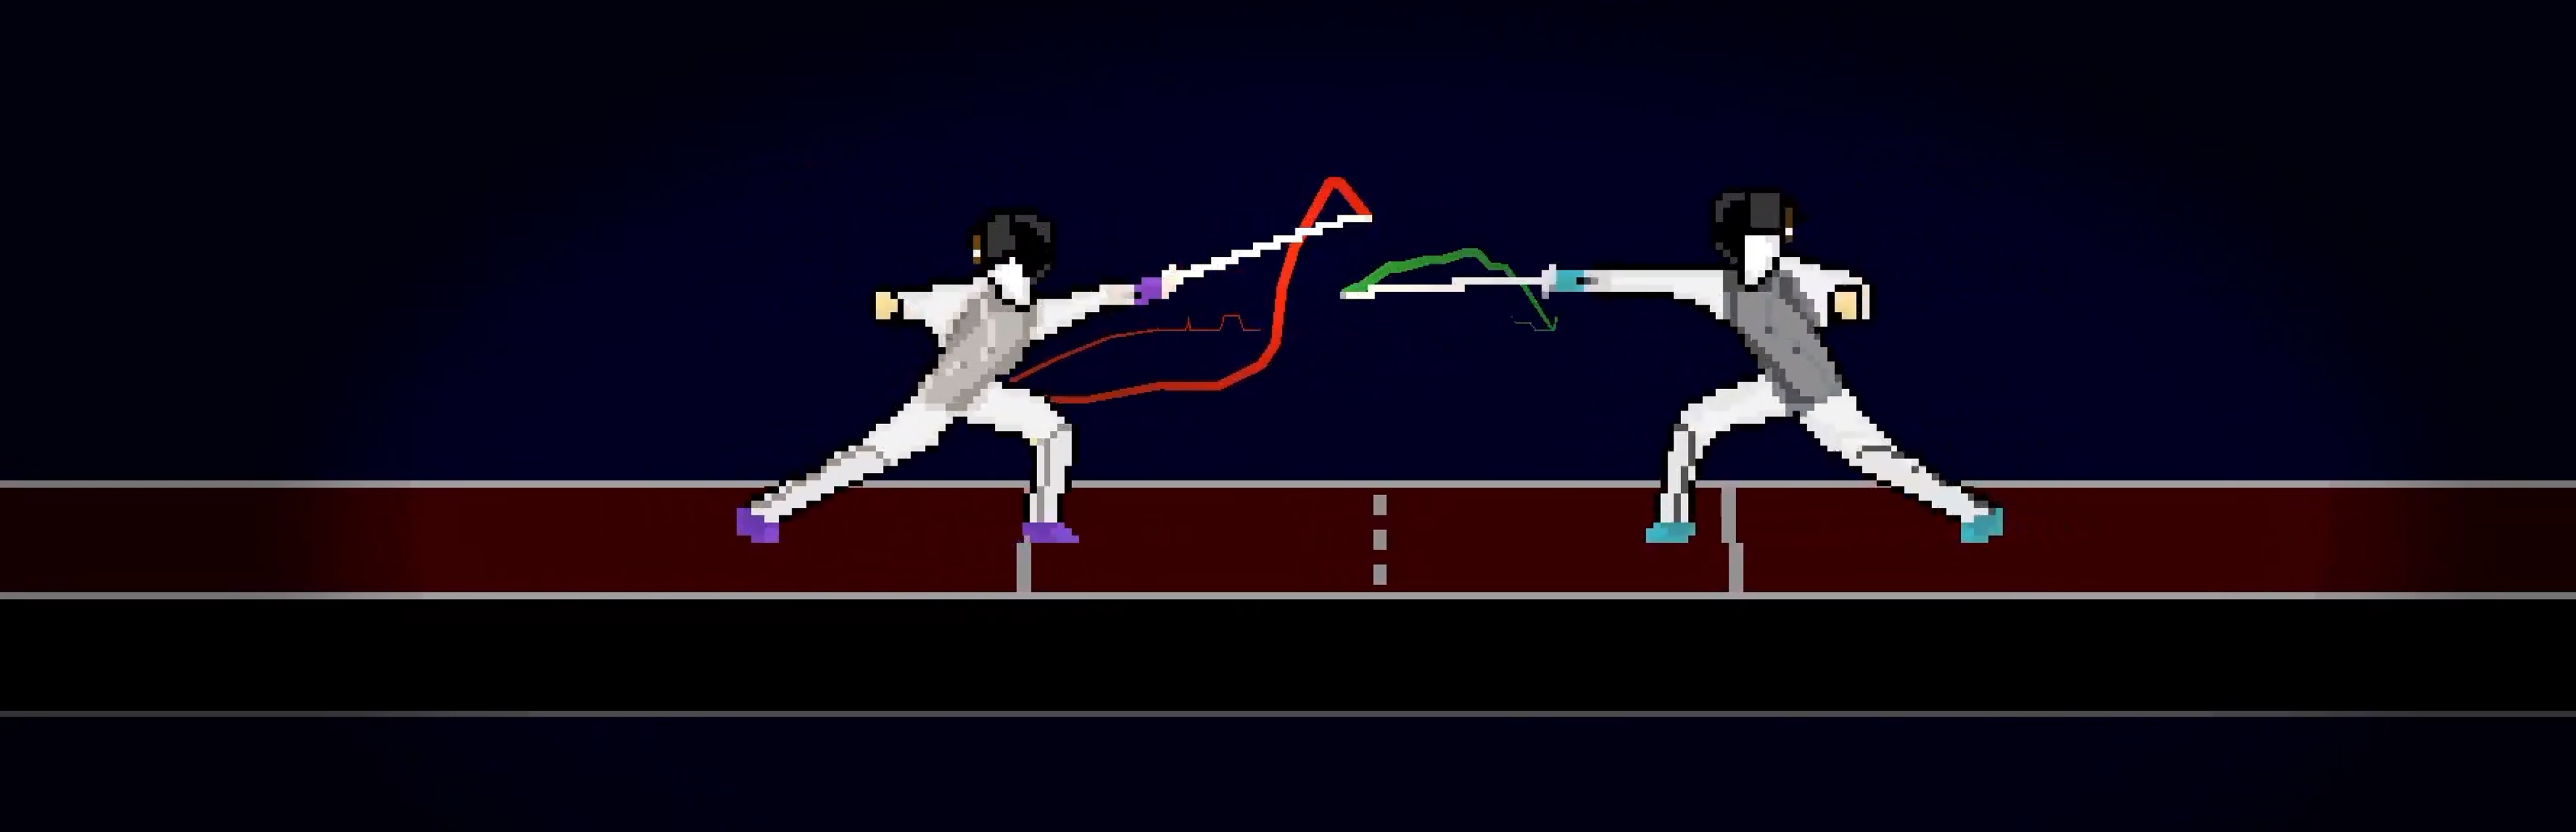
Transitioning fencing into a virtual form

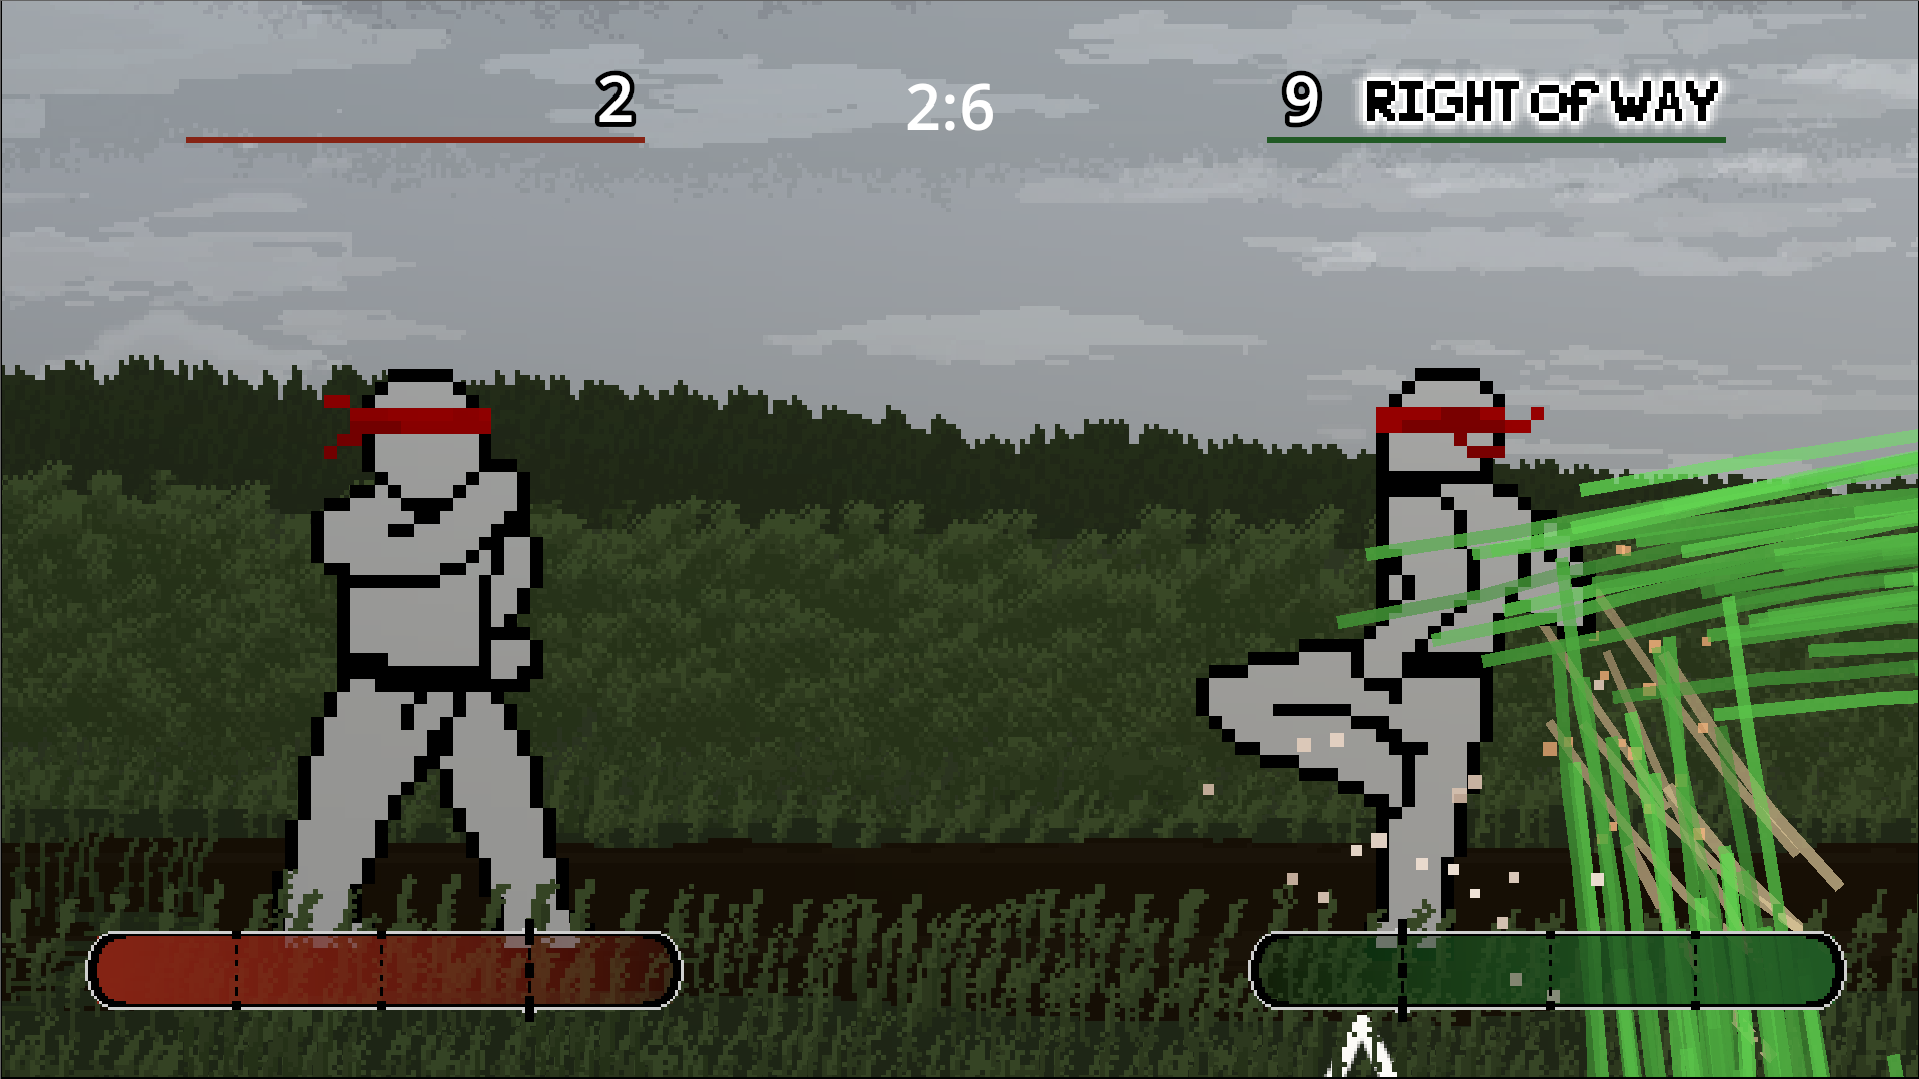
Musashi is a centerpiece of Right of Way, designed as an adaptive Stance Character. Unlike traditional fighters where you learn one moveset, playing Musashi is like learning four characters in one. He is built on the philosophy that “one small mistake is enough” to end a duel. After all, isn’t that what Right of Way and fencing themselves are centered around?
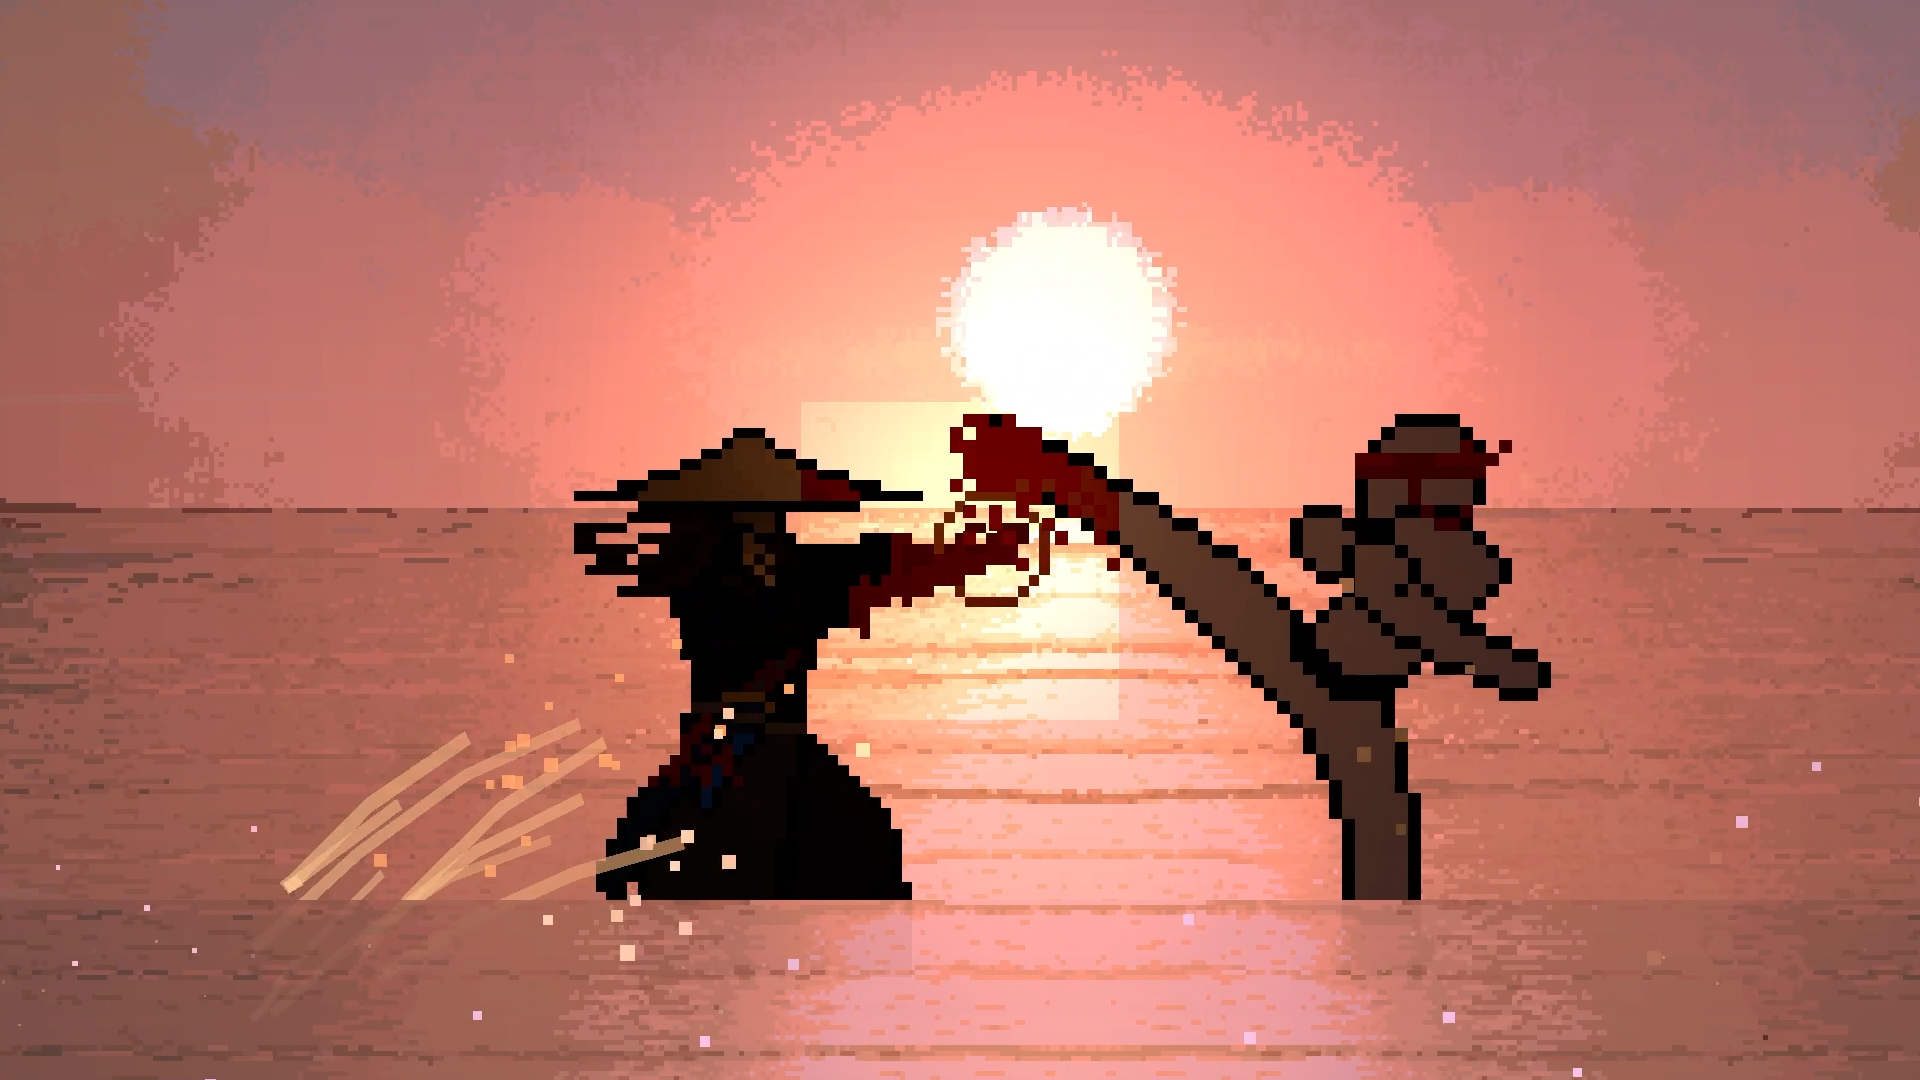
Based on the legendary Miyamoto Musashi, this character embodies the fluid, “win by any means” style of the historical ronin. From carving oars into wooden swords to showing up half a day late to his own duels, Musashi’s history is one of eccentricity and dominance. In Right of Way, he brings that same unpredictable energy to the 2D plane.
Musashi is an adaptive fighter. While he began as a “rekka” character, he has evolved into a complex archetype where players must decide whether to master a single stance or switch constantly to counter their opponent’s strategy.
At close range, Musashi thrives on timing. His kit rewards understanding when to commit and when to hold position.
A key idea for Musashi players:
You don’t always want to switch stances.
It’s often correct to commit to one stance for long stretches, because each stance is fully fleshed-out enough to function like its own character.
But if the opponent’s rhythm collapses—if they retreat, rush, or overcommit—you can pivot with a stance change to regain control.
| Stance | Archetype | Key Strength | Key Weakness |
|---|---|---|---|
| 0 Sword Style (0SS) | Iaido / Zoner | Full-screen “Flash Cuts” | Requires setup/patience |
| 1 Sword Style (1SS) | All-Rounder | Great pokes and balance | Slower movement |
| 2 Sword Style (2SS) | Rushdown | Multi-hit “frametraps” | Risky parry/recovery |
| 2 Sword Style Back (2SS1) | Big Body / One-Shot | High damage, safe jab | Committal movement |
The “Iaido” style. This focuses on quick-draw techniques, including the Flash Cut and Teleport Cut. It turns Right of Way into a game of patience, forcing the opponent to guess whether you will slice through the air or appear behind them.
can the opponent remain patient and judge the timing correctly?
or do they panic and get clipped by quick succession cuts?
These moves are incredibly strong and committal, so 0SS players must:
choose their moments carefully,
and avoid “button mashing” into punish.
Choose 0SS when you expect:
the opponent to become too comfortable in spacing,
or when you want to end the exchange with decisive timing checks.
This is Musashi’s neutral state. It features a backslash that draws the wakizashi, forcedly transitioning you into 2SS. It also includes a long-range lunge and a unique jump that provides vertical maneuverability at the cost of being unable to change directions mid-air.
It’s grounded. You don’t “walk your way” into constant repositioning like the rushdown options.
It was originally envisioned as something more limited—closer to a precursor idea than a full stance—so its identity reflects that evolution.
1SS is for players who want:
structured engagements,
bait-and-punish windows,
and controlled spacing rather than relentless forward pressure.
Basically, for players who are boring!
The ultimate pressure stance. 2SS allows for faster walking and dashing. Its core strength lies in frametraps—attacks with such small gaps that opponents who try to mash buttons will inevitably get hit. However, the parry window is smaller, making it a high-risk offensive choice.
Walk speed increases.
Dashes exist here and help you close distance quickly with relatively low risk (compared to other Musashi tools).
2SS pressure is built around multi-hit attacks that force the opponent to defend repeatedly.
Musashi’s overhead sequence creates a frametrap:
In plain terms, it’s a tiny gap between hits.
The opponent can try to interrupt, but if they do, the timing is “too late” and they get clipped by the second hit.
In 2SS, the spacing is tight enough that the opponent often can’t afford to gamble on counterattacking. They must parry (and get the timing right) or risk being hit again.
2SS also pays for its pressure with risk:
the parry has less active frames
and more endlag
which makes mistimed defense far more punishing.
Even when parry succeeds, the riposte is described as lethargic and punishable, meaning 2SS doesn’t give free momentum. It gives pressure, but it demands accuracy.
Choose 2SS when:
the opponent is respecting too much,
you want to force defense checks at close range,
and you’re confident you can keep them in your rhythm.
Avoid 2SS when:
you expect the opponent to escape your close range consistently,
or when your parry reads will be stretched.
Triggered by specific lunges or taunts, this stance makes Musashi a “one-shot” threat. He becomes a “big body” character: slow walks, but terrifyingly fast pokes with the wakizashi. His parry in this stance is excellent, compensating for his lack of safe maneuverability.
This stance trades movement freedom for:
large attacks,
terrifying commitment,
and quick threat once you’re in.
That makes 2SS1 a stance for:
punishing retreats,
punishing predictable spacing,
and ending neutral with a decisive gamble.
A specialized sub-stance where Musashi raises his katana to his ear. In this state, you cannot move or parry. You are trading all defense for a massive, high-speed ultimatum: the opponent must retreat or be cut down.
It is categorized by complete inability to move.
It provides a fast, huge threat window with a large hitbox.
After the slash, Musashi transitions back into 2SS—but the stance entry/recovery loop is what makes it dangerous.
2SS1R cannot parry and lacks a riposte because:
removing defense here keeps the stance from erasing risk.
the intention is clear: this stance is meant to be feared for its commitment, not balanced as a free defensive tool.
2SS1R is for rounds where you want to:
force an emergency response,
deny the opponent comfortable defense timing,
and punish hesitation.
| Move | Name | Input | Length | Startup | Active | Endlag | Adv |
| :— | :— | :— | :— | :— | :— | :— | :— |
| | Extend | 5C | 20 | 4 | 6 | 10 | -6 |
| | Lunge | 5L | 20 | 7 | 8 | 18 | -3 |
Transitioning fencing into a virtual form
Guide to the Musashi character
Guide to the Musashi character